もくじ
Summary
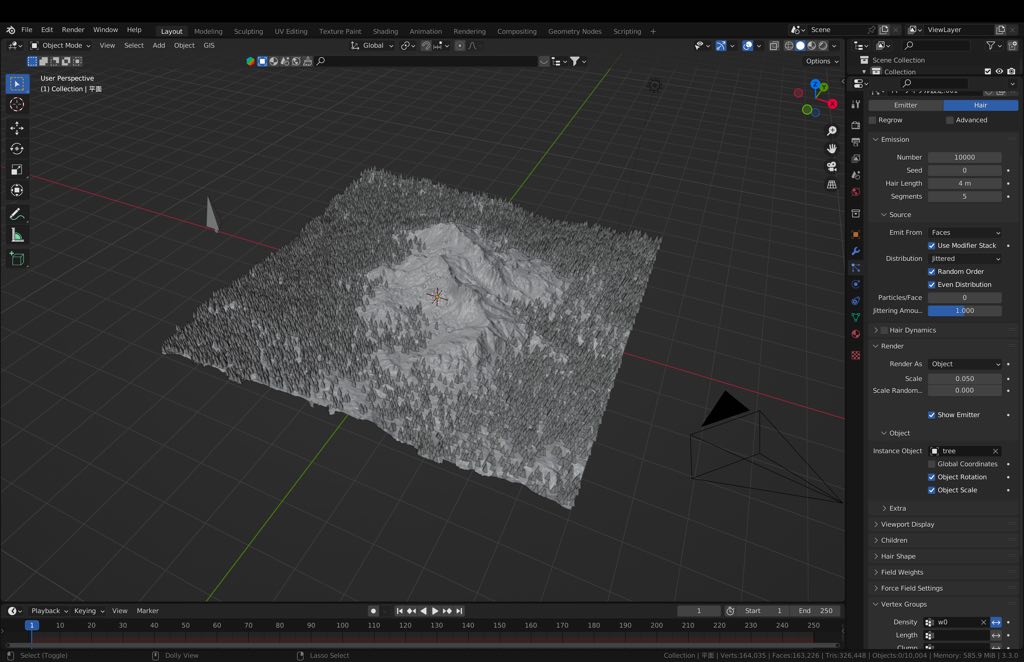
In terrain creation, weight maps are sometimes used to control vegetation locations. In this article, I would like to show you how to create a weight map from a height map instead of a weight brush.
Procedure
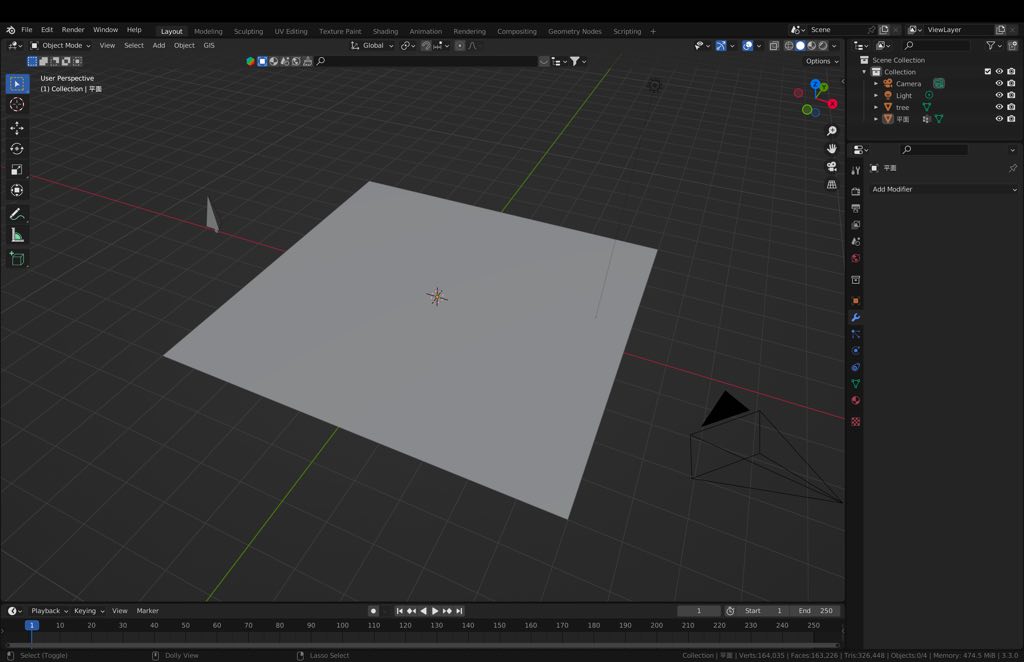
1.Prepare plane and cone
Prepare one high-resolution plane and one cone. The cones are modeled as trees. We want to grow a tree on the terrain using a weight map.
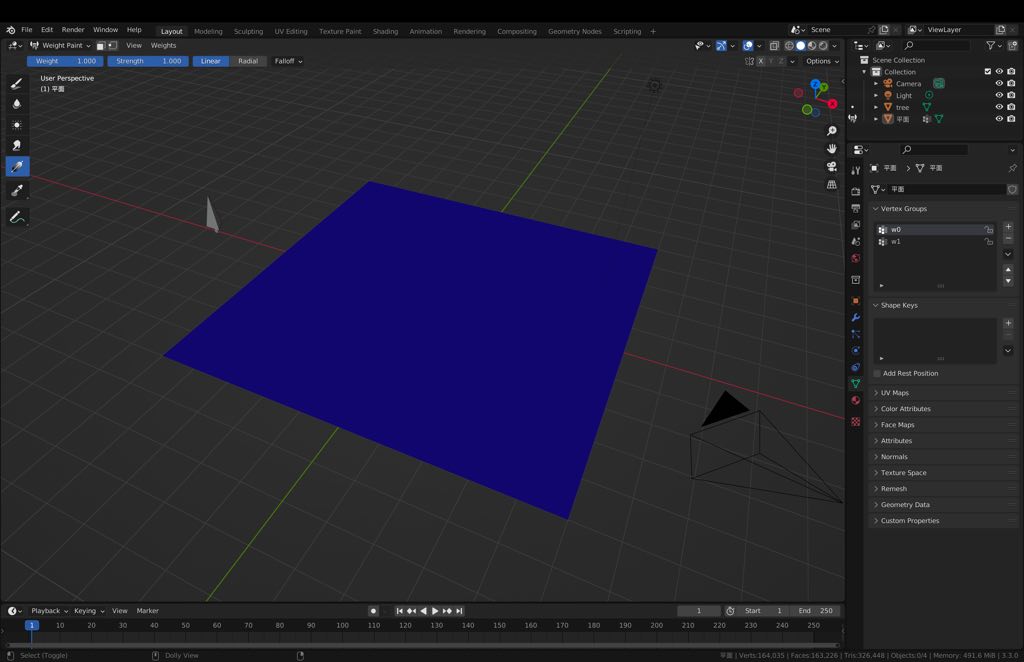
2.Zero weight register
Zero-weight all vertices in the plane and register them in the Vertex Group of the Object Data Properties.
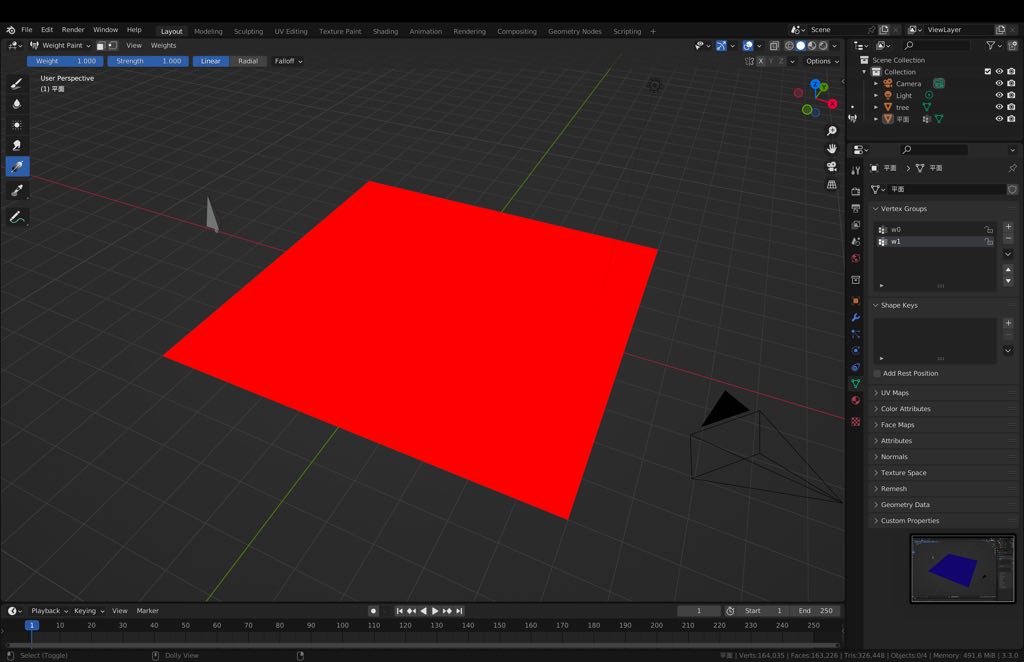
3.Max weight register
Attach maximum weights to all vertices of the plane and register them as the second Vertex Group in the Object Data Properties.
4.Vertex Weight Mix
Apply the “Vertex Weight Mix” modifier to the plane.
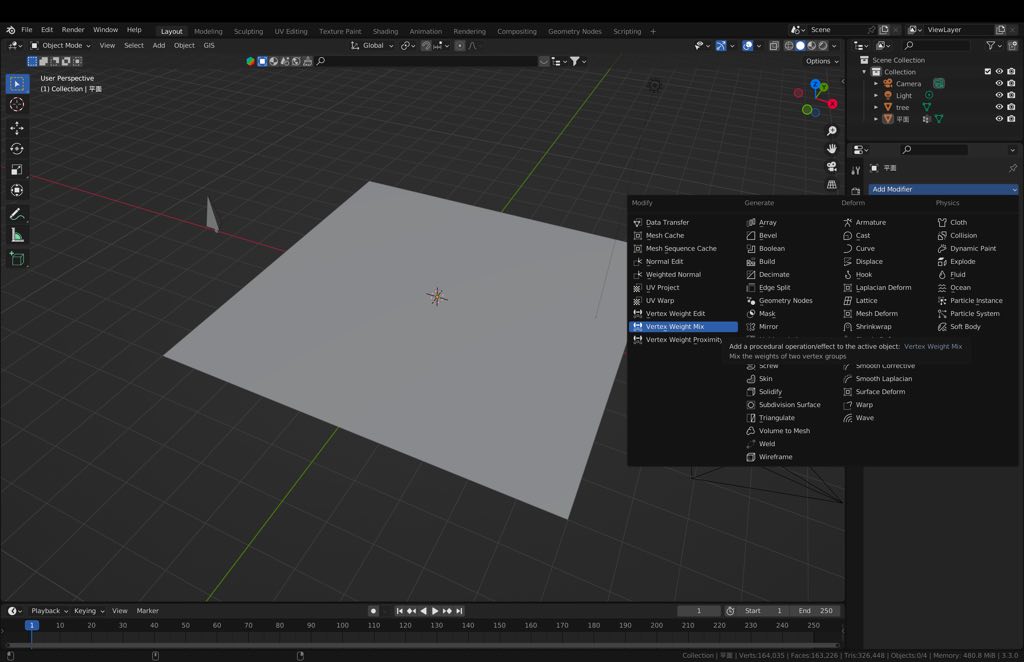
5.Load height map
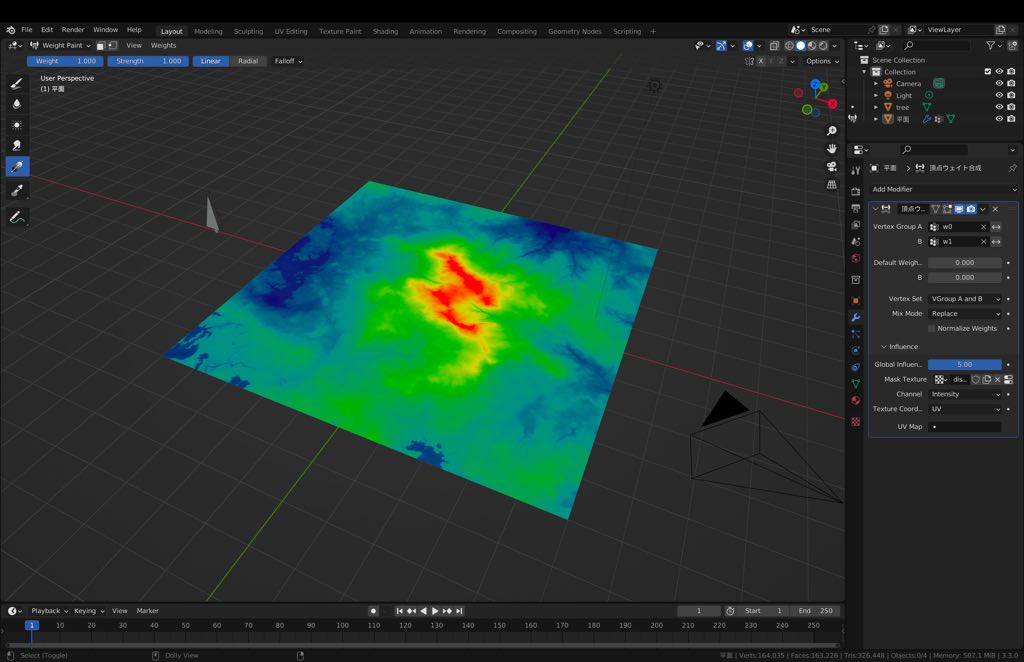
Specify a zero-weight vertex group for Vertex Group A and a maximum-weight vertex group for Vertex Group B.
Load the height map into Mask Texture of Influence and adjust the strength with the value of Global Influence.
This is the end of the conversion from Height map to Weight map. Step 6 and following are examples of setting up vegetation using a Weight map.
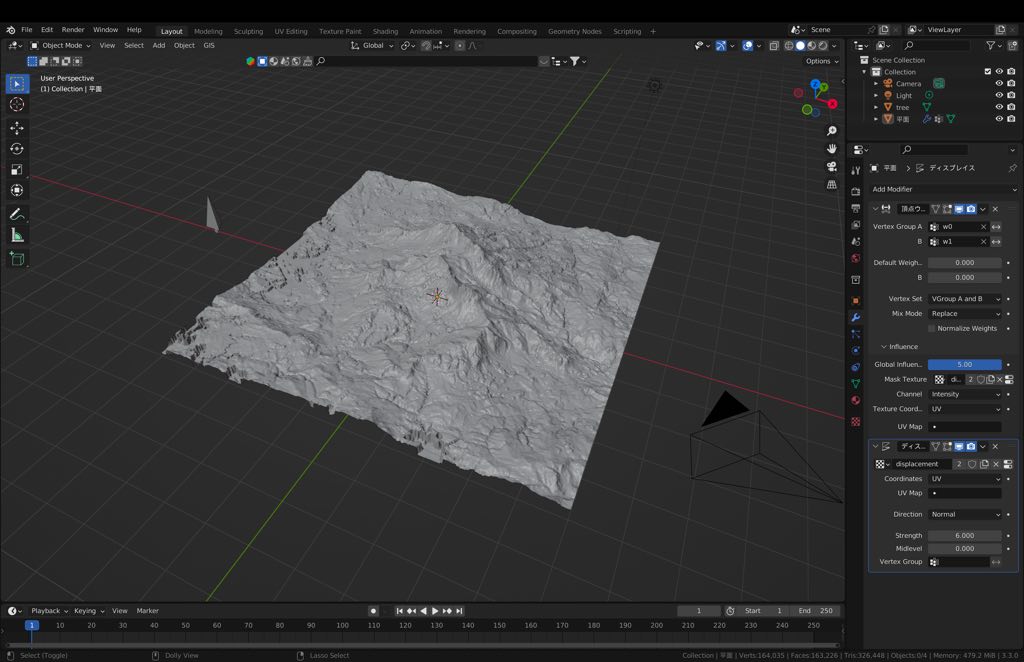
6.Displace
Apply the “displace” modifier to the plane.
7.Particle hair
Apply a Hair-type particle system to a flat surface.
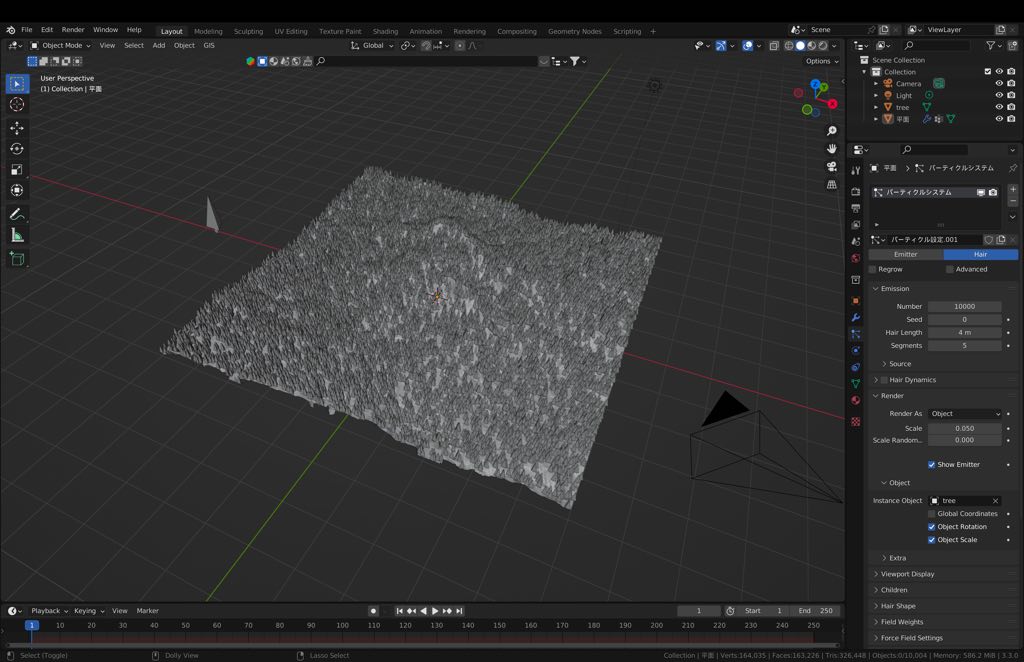
8.Particle settings
Specify a cone in Render As Object.Check “Use Modifier Stack” in Source.Specify a zero-weight vertex group in Density in Vertex Groups.The arrow next to Density is a button for reversing the weight.
Trees now grow avoiding the mountain slopes.
